
Achieving perfect dimensions is a daily battle in the factory. You design a part carefully, but it shrinks after cooling. This shrinkage can ruin the fit of complex assemblies. Understanding the physics of plastic behavior is the first step. This guide explores how to stabilize your injection molding results effectively. We help you turn variable parts into consistent, high-quality products.
1. The Main Drivers: Why Does Plastic Shrink?
Several factors dictate how much a part will change size. You must consider these variables before cutting any steel.
Material Nature
Different resins behave differently as they cool down. Crystalline materials like PA or PP shrink significantly more. Conversely, amorphous materials like ABS or PC offer lower shrinkage. Therefore, your material choice defines your initial tolerance strategy.
Process Parameters
Machine settings play a massive role in final dimensions. Holding pressure and holding time keep the mold “packed” full. Furthermore, the cooling time determines how the molecules lock into place. If you rush the cycle, the parts will warp.
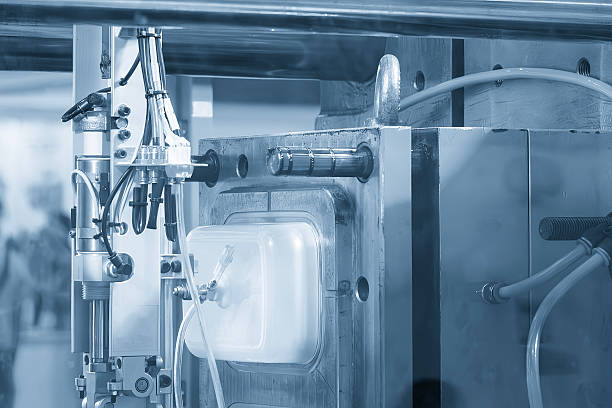
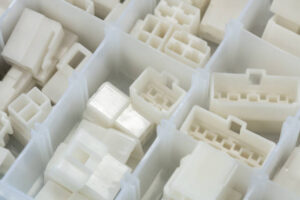
Mold Design
Gate placement affects how the molten plastic enters the cavity. Moreover, uniform cooling channels prevent uneven shrinking across the part. Consequently, a well-engineered mold reduces internal stress and dimensional drift.
2. The Three Stages of Shrinkage
Plastic does not stop moving the moment the mold opens. You must track the size across three distinct phases.
-
In-Mold Shrinkage: This happens during the packing and holding stage. High pressure compensates for the volume loss as it cools.
-
Post-Demolding Shrinkage: The part continues to cool after leaving the machine. It reaches its basic solid shape during this quick transition.
-
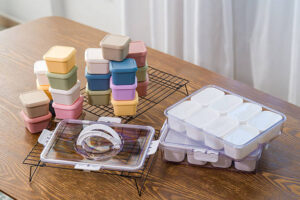
Late Shrinkage: Some materials continue to move for up to 24 hours. Therefore, you should only measure “final” dimensions after this rest period.
Consequently, stability requires patience and a controlled environment. We ensure all parts reach thermal equilibrium before the final inspection.
3. Expert Advice: Designing for Precision
Engineering for injection molding requires a proactive mindset. You cannot fix a bad design with machine settings alone.
First, always include a shrinkage allowance in your CAD model. We recommend using the middle range of the material’s data sheet. Furthermore, maintain a uniform wall thickness throughout your entire design. Uneven walls lead to “sink marks” and unpredictable shrinking patterns. Therefore, simplify your geometry to ensure a smooth, even cooling process.
Second, monitor your production parameters with digital sensors. Small changes in melt temperature can shift your dimensions by microns. Consequently, we use real-time data to keep your parts within tolerance.
Conclusion: Mastering the Science of Size
Controlling shrinkage is the hallmark of professional injection molding. It requires a deep understanding of materials and thermal dynamics.
Do not leave your part dimensions to chance or luck. Use the right materials and optimized mold designs for success. Stable parts lead to easier assembly and happier end users. At WIN WIN, we bring this technical expertise to every project. Experience the difference that professional shrinkage control makes for your brand. Let’s create high-precision plastic components that fit perfectly every time.


Add comment