
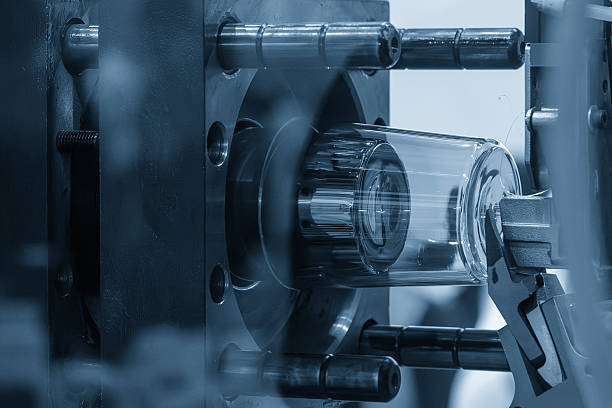
Quality control is the heartbeat of professional manufacturing. Even small errors can ruin a perfect design. Therefore, understanding common defects is vital for every buyer. This guide explores the “big four” issues in injection molding. We provide clear causes and professional solutions for each. We help you turn production failures into high-quality success stories.
1. Shrinkage (Sink Marks): The Hidden Dip
Shrinkage appears as small craters on the surface. These “sink marks” usually occur in thicker sections.
The Cause: The material cools too slowly in thick areas. Consequently, the plastic pulls inward as it hardens. This often happens due to insufficient holding pressure. Furthermore, poor wall thickness design creates uneven cooling zones.
The Solution: First, optimize your part’s wall thickness design. Keep walls uniform to ensure even cooling. Next, increase the holding pressure and time. This forces more material into the mold cavity. Therefore, the plastic stays flush against the mold walls.
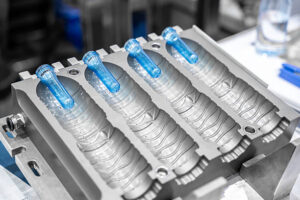
2. Flashing (Burrs): The Unwanted Edge
Flashing is excess plastic that escapes the mold. It appears as thin, wing-like skins on the edges.
The Cause: The injection pressure often exceeds the clamping force. Consequently, the mold halves separate slightly during the shot. This also happens if the mold plates are worn. Therefore, the liquid plastic leaks through the tiny gaps.
The Solution: Start by increasing the machine’s clamping force. Moreover, reduce the injection pressure or melt temperature. If the problem persists, inspect the mold for damage. Repairing the parting line ensures a perfect, tight seal. Consequently, your parts stay clean and professional.
3. Weld Lines: The Fragile Meeting Point
Weld lines look like hair-thin cracks on the surface. They mark where two flow fronts meet.
The Cause: The molten plastic cools down too much before merging. Consequently, the two fronts do not fuse perfectly. This often happens far from the gate area. Therefore, the bond remains weak and visually distracting.
The Solution: First, raise the melt or mold temperature. This keeps the plastic fluid for a longer time. Next, optimize the gate positions to reduce flow distance. Furthermore, increase the injection speed to fill faster. This ensures a strong, seamless bond at every junction.
4. Stress Whitening (Top White): The Ejection Mark
Stress whitening appears as pale spots on the skin. These usually align with the positions of ejector pins.
The Cause: The ejector pins push too hard on the part. This happens if the cooling time is too short. Consequently, the plastic is still soft and easily deformed. Therefore, the mechanical stress leaves a permanent white mark.
The Solution: Increase the cooling time before opening the mold. This allows the part to harden fully. Moreover, increase the surface area of the ejector pins. You can also reduce the ejection speed significantly. As a result, the part exits the mold safely.
5. Acceptance Standards: When to Scrap the Part
Not every defect requires you to scrap the entire batch. You must define your quality boundaries clearly.
-
Acceptable: Minor weld lines in hidden, non-structural areas. Slight flow marks on internal surfaces are often okay.
-
Scrap: Any flashing that interferes with the final assembly. Significant shrinkage that affects dimensional accuracy is a failure. Furthermore, any cracks or structural stress marks are unacceptable.
Therefore, work closely with your manufacturer on these standards. Clear communication prevents wasted time and unnecessary costs.
Conclusion: Mastering the Art of the Perfect Shot
Successful injection molding requires constant vigilance and technical skill. By identifying these defects early, you save your project budget.
Focus on smart design and stable process parameters. High-quality parts are the result of careful engineering. Do not settle for “good enough” when perfection is possible. Let professional troubleshooting guide your next production run. Your brand deserves parts that look and perform flawlessly. Build with confidence by mastering the science of the mold.


Add comment